Pick Right
Know when the open pile helps and when to draw blind.
Discard Smart
Reduce points fast. Never gift your opponent a winning card.
Know When to Drop
20 < 40 < 80. Cutting losses is a skill, not a surrender.
Bait & Bluff
Nudge opponents to discard cards you need.
When to Pick from the Open Pile
The open pile is a double-edged sword. Picking from it improves your hand — but it also reveals your hand structure to the opponent, since they can see what you took.
✅ Pick from the Open Pile When:
- It directly completes or extends a meld.
If the open card forms a pure sequence, impure sequence, or set with cards already in your hand, take it immediately.
- It's adjacent to a hand card AND doesn't increase your points.
Pick if the card is rank ±1 of any card in your hand (same suit), the card you'd discard is different from the open card, and your deadwood doesn't go up.
❌ Never Pick from the Open Pile When:
- The card is a Joker (after turn 0). Picking a discarded joker is not allowed.
- You'd put the same card right back. This creates loops and wastes your turn.
- You recently discarded that card. Avoid cycling — it's a trap that wastes turns.
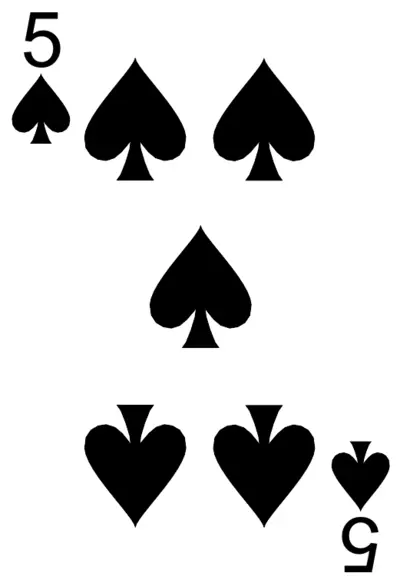
Should you pick this?
 Open Pile
Your hand includes:
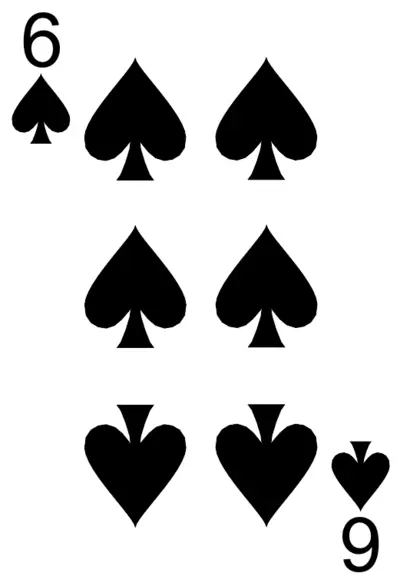
What about this?
 Open Pile
Your hand — no hearts, no aces near meld:
Which Card to Discard
Most games are won or lost at the discard step. What you throw away determines both your own deadwood score and what you hand to your opponent.
Priority Order for Discards
Aces, Kings, Queens, Jacks that don't connect to anything in your hand — discard these immediately. Each is worth 10 points.
Try discarding each card mentally. The one that results in the lowest remaining deadwood score should go first.
If a card of the same rank is already discarded, your opponent probably doesn't need it. It's "dead" — safer to discard.
If 5♠ is in the pile and you want to discard 6♠ or 4♠ — that sequence is partially broken. Lower risk.
⚠️ The Discard Risk Score
Before discarding any card, mentally calculate its risk score — how much it might help your opponent:
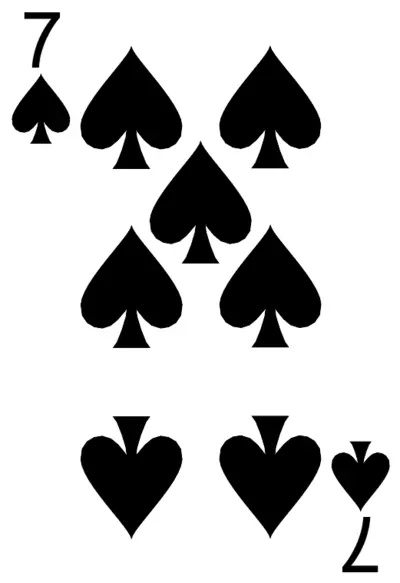
Which to discard?
14 cards — choose the best to discard:
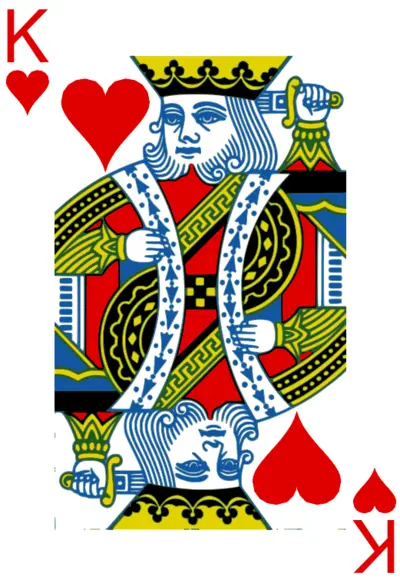
Isolated 10-pt card

Wait — check if it connects
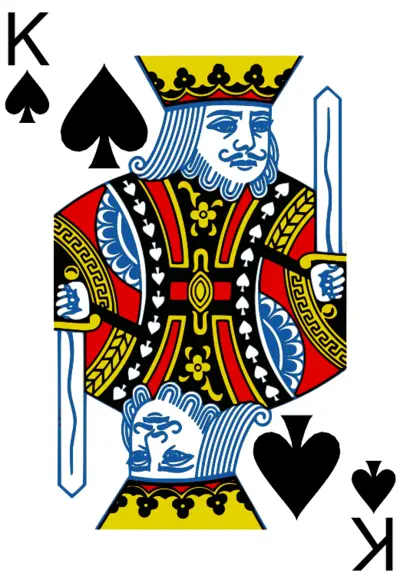
K♠ already in discard pile = safe
🎯 Early Game Priority
Discard high-value unconnected cards in the first 2–3 turns.
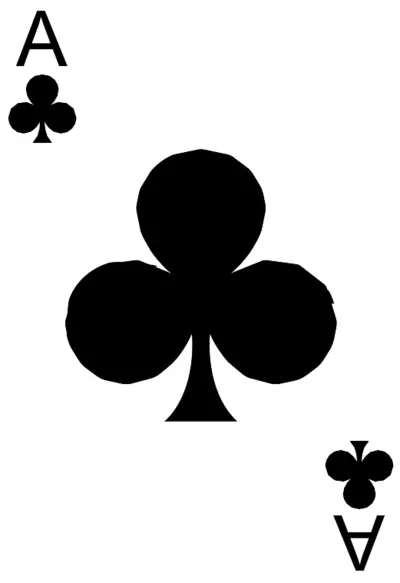 10 pts
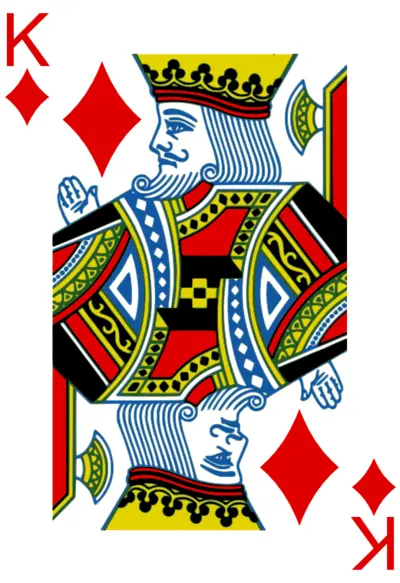 10 pts
 10 pts
 10 pts
Drop Strategy — When to Fold
Knowing when to drop is one of the highest-leverage skills in rummy. A First Drop (20 pts) on the right hand saves you from losing 80 pts. That's a 60-point swing.
Heads-Up (2-Player) Drop Guidelines
Drop if hand points > 85 AND you have no jokers.
With 1+ jokers → almost always play on. Jokers multiply your hand potential.
Drop if hand points > 60 AND you have 0 jokers.
With 1 joker → threshold rises to 80. With 2+ jokers → never drop.
Drop if deadwood > 50 with 0 jokers; > 60 with 1 joker.
Late drops are costly (Middle Drop = 40 pts). But 40 < 80.
The Three-Turn Rule
If your deadwood is still above 40 points after 3 turns of actively trying to improve, your win probability has dropped below 15%.
At that point, Middle Drop (40 pts) is statistically better than continuing and likely losing 80.
📊 Quick Drop Reference
2-player game, No Jokers:
🚩 Drop This Hand Immediately
No joker. No pure sequence. High isolated cards.
Hand Connectedness — Keep Meld Potential High
Two hands can have the same deadwood score, but one might be much closer to winning. That's connectedness — how well your cards link to each other for future melds.
Connectedness Scoring System
Advanced Baiting
Baiting is the art of making your opponent discard cards you need. It requires watching the discard pile carefully and making strategic discards to create "false signals" about your hand.
You hold 7♥ and 9♥. You need 8♥ to complete a pure sequence.
Discard 6♥. Your opponent sees 6♥ as safe — they may now feel 7♥–8♥–9♥ is broken. If they hold 8♥ (and think it's now less useful), they might discard it. Pick it up.
 + Need →
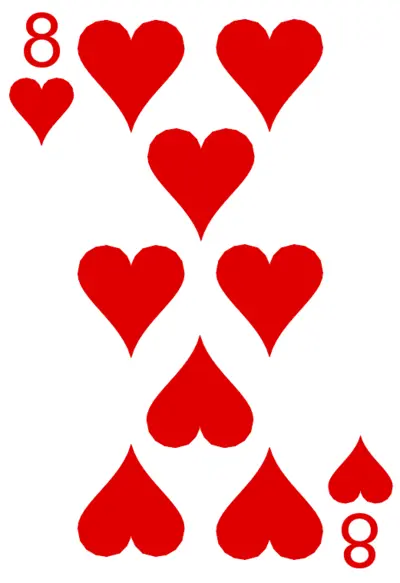
You need Q♦ to complete a set with Q♠ and Q♣.
Discard J♦. The opponent may think you're clearing diamonds. If they hold Q♦ and think sequences in that area are broken, they might let it go.
 Need →
Baiting works best in 2-player games. With more players, the card you need is less predictably in any one person's hand. Focus on reading the discard pile for clues instead.
📚 Read the Discard Pile
Cards in the pile are public info. Use them to:
- ✅ Identify "dead" cards (broken sequences)
- ✅ Know which ranks are safe to discard
- ✅ Detect what your opponent needs (they won't pick what they don't need)
- ⚠️ Avoid discarding what the opponent just picked — they may need its neighbors
🃏 Joker Hierarchy
Place jokers strategically — not just anywhere:
Evaluating Your Starting Hand
When 13 cards land in your hand, your first 10 seconds set the strategy for the whole game. Here's a rapid evaluation framework:
Count your Jokers
0 jokers → Be cautious. 1 joker → Good potential. 2+ jokers → Strong hand, almost always play on.
Find your Pure Sequence potential
Look for 3+ consecutive same-suit cards. Even a 2-card run is a start. No run at all → high risk hand.
Count high isolated cards
Each unconnected A, K, Q, J = 10 pts of risk. For every isolated face card with no neighbour → consider immediate discard.
Estimate your deadwood
Sum the values of cards not in any meld or near-meld. This is your starting point; your goal is to reduce it to 0.
Make the drop decision
Apply the thresholds from Strategy 3. If your deadwood exceeds the threshold and you have 0 jokers → First Drop = optimal.
Play Against Our AI
and Test Your Skills
RummyEasy's AI uses every strategy above — and then some. Play for free, practice these tactics, and watch your game improve.